Routing Policies
Routing policies define how traffic is routed to a resource with regards to Lacework Edge. A Routing Policy can be used to route traffic directly to the destination, through the Lacework Edge Points of Presence, or through a specific connector.
In routing policies, the priority number is used to determine the order in which they are applied to a session, where lower priority numbers (1 being the lowest) are applied first. As such, you will want to set Routing policies in the following order of priority:
- Direct Routing - any public resources you want to route directly (i.e., traffic to known safe sites, especially those requiring high bandwidth) would be handled by these policies, with an appropriately low priority number (i.e. 1 or 10).
- Connector Routing - all private applications should use Connector Routing policies to forward their traffic through the appropriate Connector and then on to the application. These policies are created when you create a new application using the App Wizard, by default with a priority of 100.
- Lacework Edge Routing - if you use Lacework Edge Routing with the highest priority number (1000), all other traffic — traffic you haven't sent directly or forwarded to a connector — will route through Lacework Edge to take advantage of Edge's Internet Security capabilities.
View Routing Policies
You can view existing routing policies by going to Policies > Routing Policies.
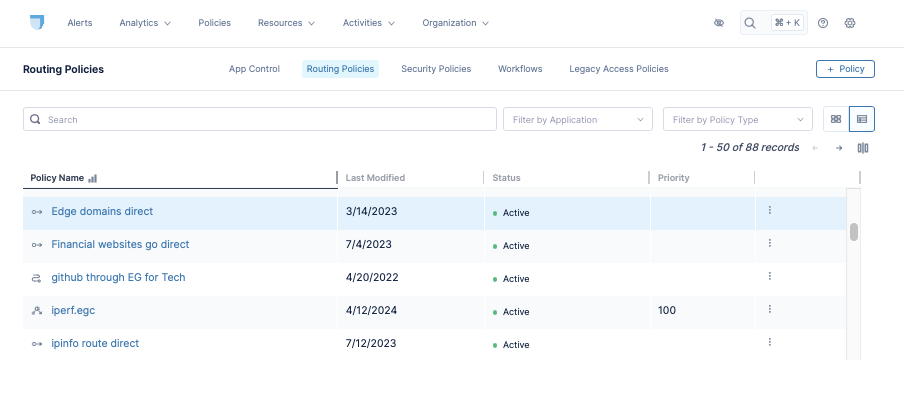
From there, you can view policy details, edit or remove policies, or add new ones. If you have an extensive list of policies, you can use the filter controls to quickly find policies of interest.
Create a Routing Policy
To create a routing policy, first ensure that the applications to which you want to route users are already configured in Lacework Edge, and then create a policy as follows:
- In the Lacework Edge console, go to Policies > Routing Policies.
- Click + Policies.
- Enter a name and description for the policy. For the name, we recommend establishing a naming convention such as "[Policy Type] - [what it affects] - [who it affects]", e.g., "Direct Routing - Streaming Sites - All Users".
- Choose a policy action from the options listed in Routing Options.
- Specify the users to whom this policy applies. You can choose users by user name, user group or session tag. Session tags apply dynamically assessed criteria to select users, such as the user's location. See Session Tags for more information.
- Specify any users to be excluded from those who would otherwise be matched by the policy by expanding the Add exclusions area and entering users by user, user group, or tag.
- Choose the applications this routing policy applies to, by application name or resource tag. Not all types of tags are compatible with routing policies. See Resource Tags for more information.
- Exclude, if desired, individual applications or tags that are otherwise included in your application selection.
- Click Save.
The new routing policy should now appear in the routing policy list.
Routing Options
Use Direct Routing
What it does: Traffic will go directly to its intended endpoint. It will not be captured by the client, nor routed through Lacework Edge infrastructure.
When to use: Certain classes of traffic to trusted webapps (e.g., streaming, teleconferencing, and OS updates) are ideal to route directly.
Use Connector Routing
What it does: Routes specific traffic through a connector.
When to use: Routing traffic to SaaS applications without creating an App (i.e., when using the webapp tag).
Use Lacework Edge Routing
What it does: Traffic will be captured by the client, and routed through the Lacework Edge PoP to which you are connected.
When to use: When using Lacework Edge for Internet Security, use this action as a catch-all for traffic that hasn't been routed by higher-priority policies.
Edit a Routing Policy
You can edit an existing routing policy from the policy list page. To edit a policy, click the action menu icon in the far right column of the policy row, and click Edit.
In the edit page, you can change the policy settings, such as its name and targeted users. You can also add a priority for the policy. The policy with the lower priority number prevails when there would otherwise be a conflict between multiple policies.