Workflows
Workflows present actions to end users while attempting to access private and Internet resources protected by Lacework Edge. A workflow can be something as simple as a self-approval click-through page, or, for more security, a process that requires admin approval or multi-factor authentication.
Workflows are applied by Security Policies. The security policy determines who and when a user should be presented with a specific workflow.
Workflow Examples
- For web sites marked as malicious with low confidence, instead of blocking a user attempting to access a site, you can have a policy trigger a workflow that warns the user of the potential danger. The warning page can require the user to acknowledge (self-approve) the risk before continuing to the site. This kind of workflow allows you to present a warning without unduly interfering with your users' day-to-day work.
- When a user's device is active from a new location, you can specify a workflow that asks the user to authenticate via Okta MFA.
- When a sales person attempts to access an engineering resources (e.g., Jira or GitHub), you can specify a workflow that requires an administrator's approval. The person trying to access the resource will be prompted to provide a justification.
- When a contractor attempts to access to GitHub, you can require the engineering manager's approval. For any workflow that requires an approval, you can specify the lifespan of the approval, such as 30 days.
Working with Workflows
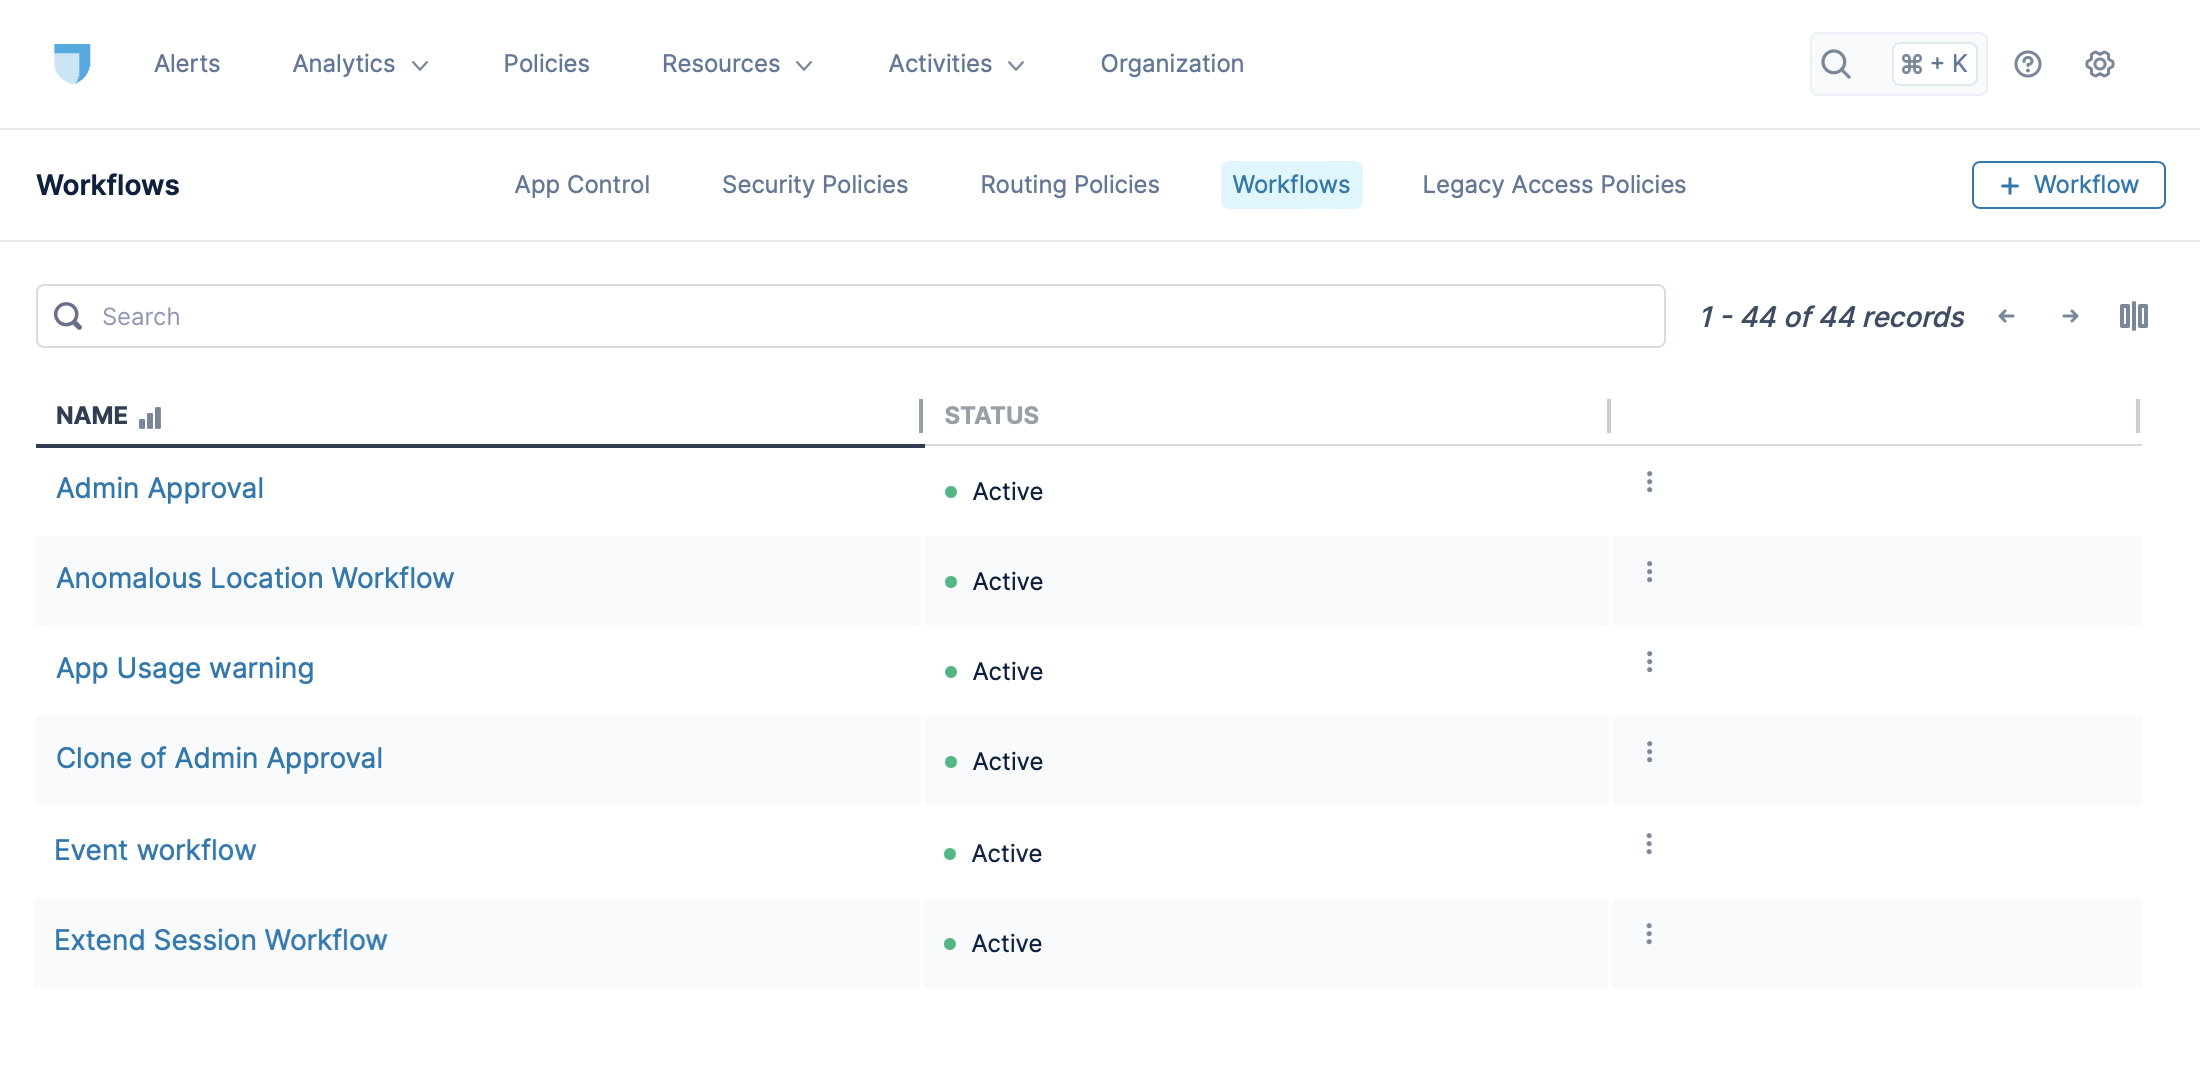
You can view your existing Workflows by clicking Policies > Workflows. The Workflows page shows a list of existing workflows.
You can edit, duplicate or delete an existing workflow from the action menu accessed by clicking the vertical ellipsis menu ⋮ next to each workflow.
You can also create new workflows, as described in the following sections.
Create an Administrator Approval Workflow
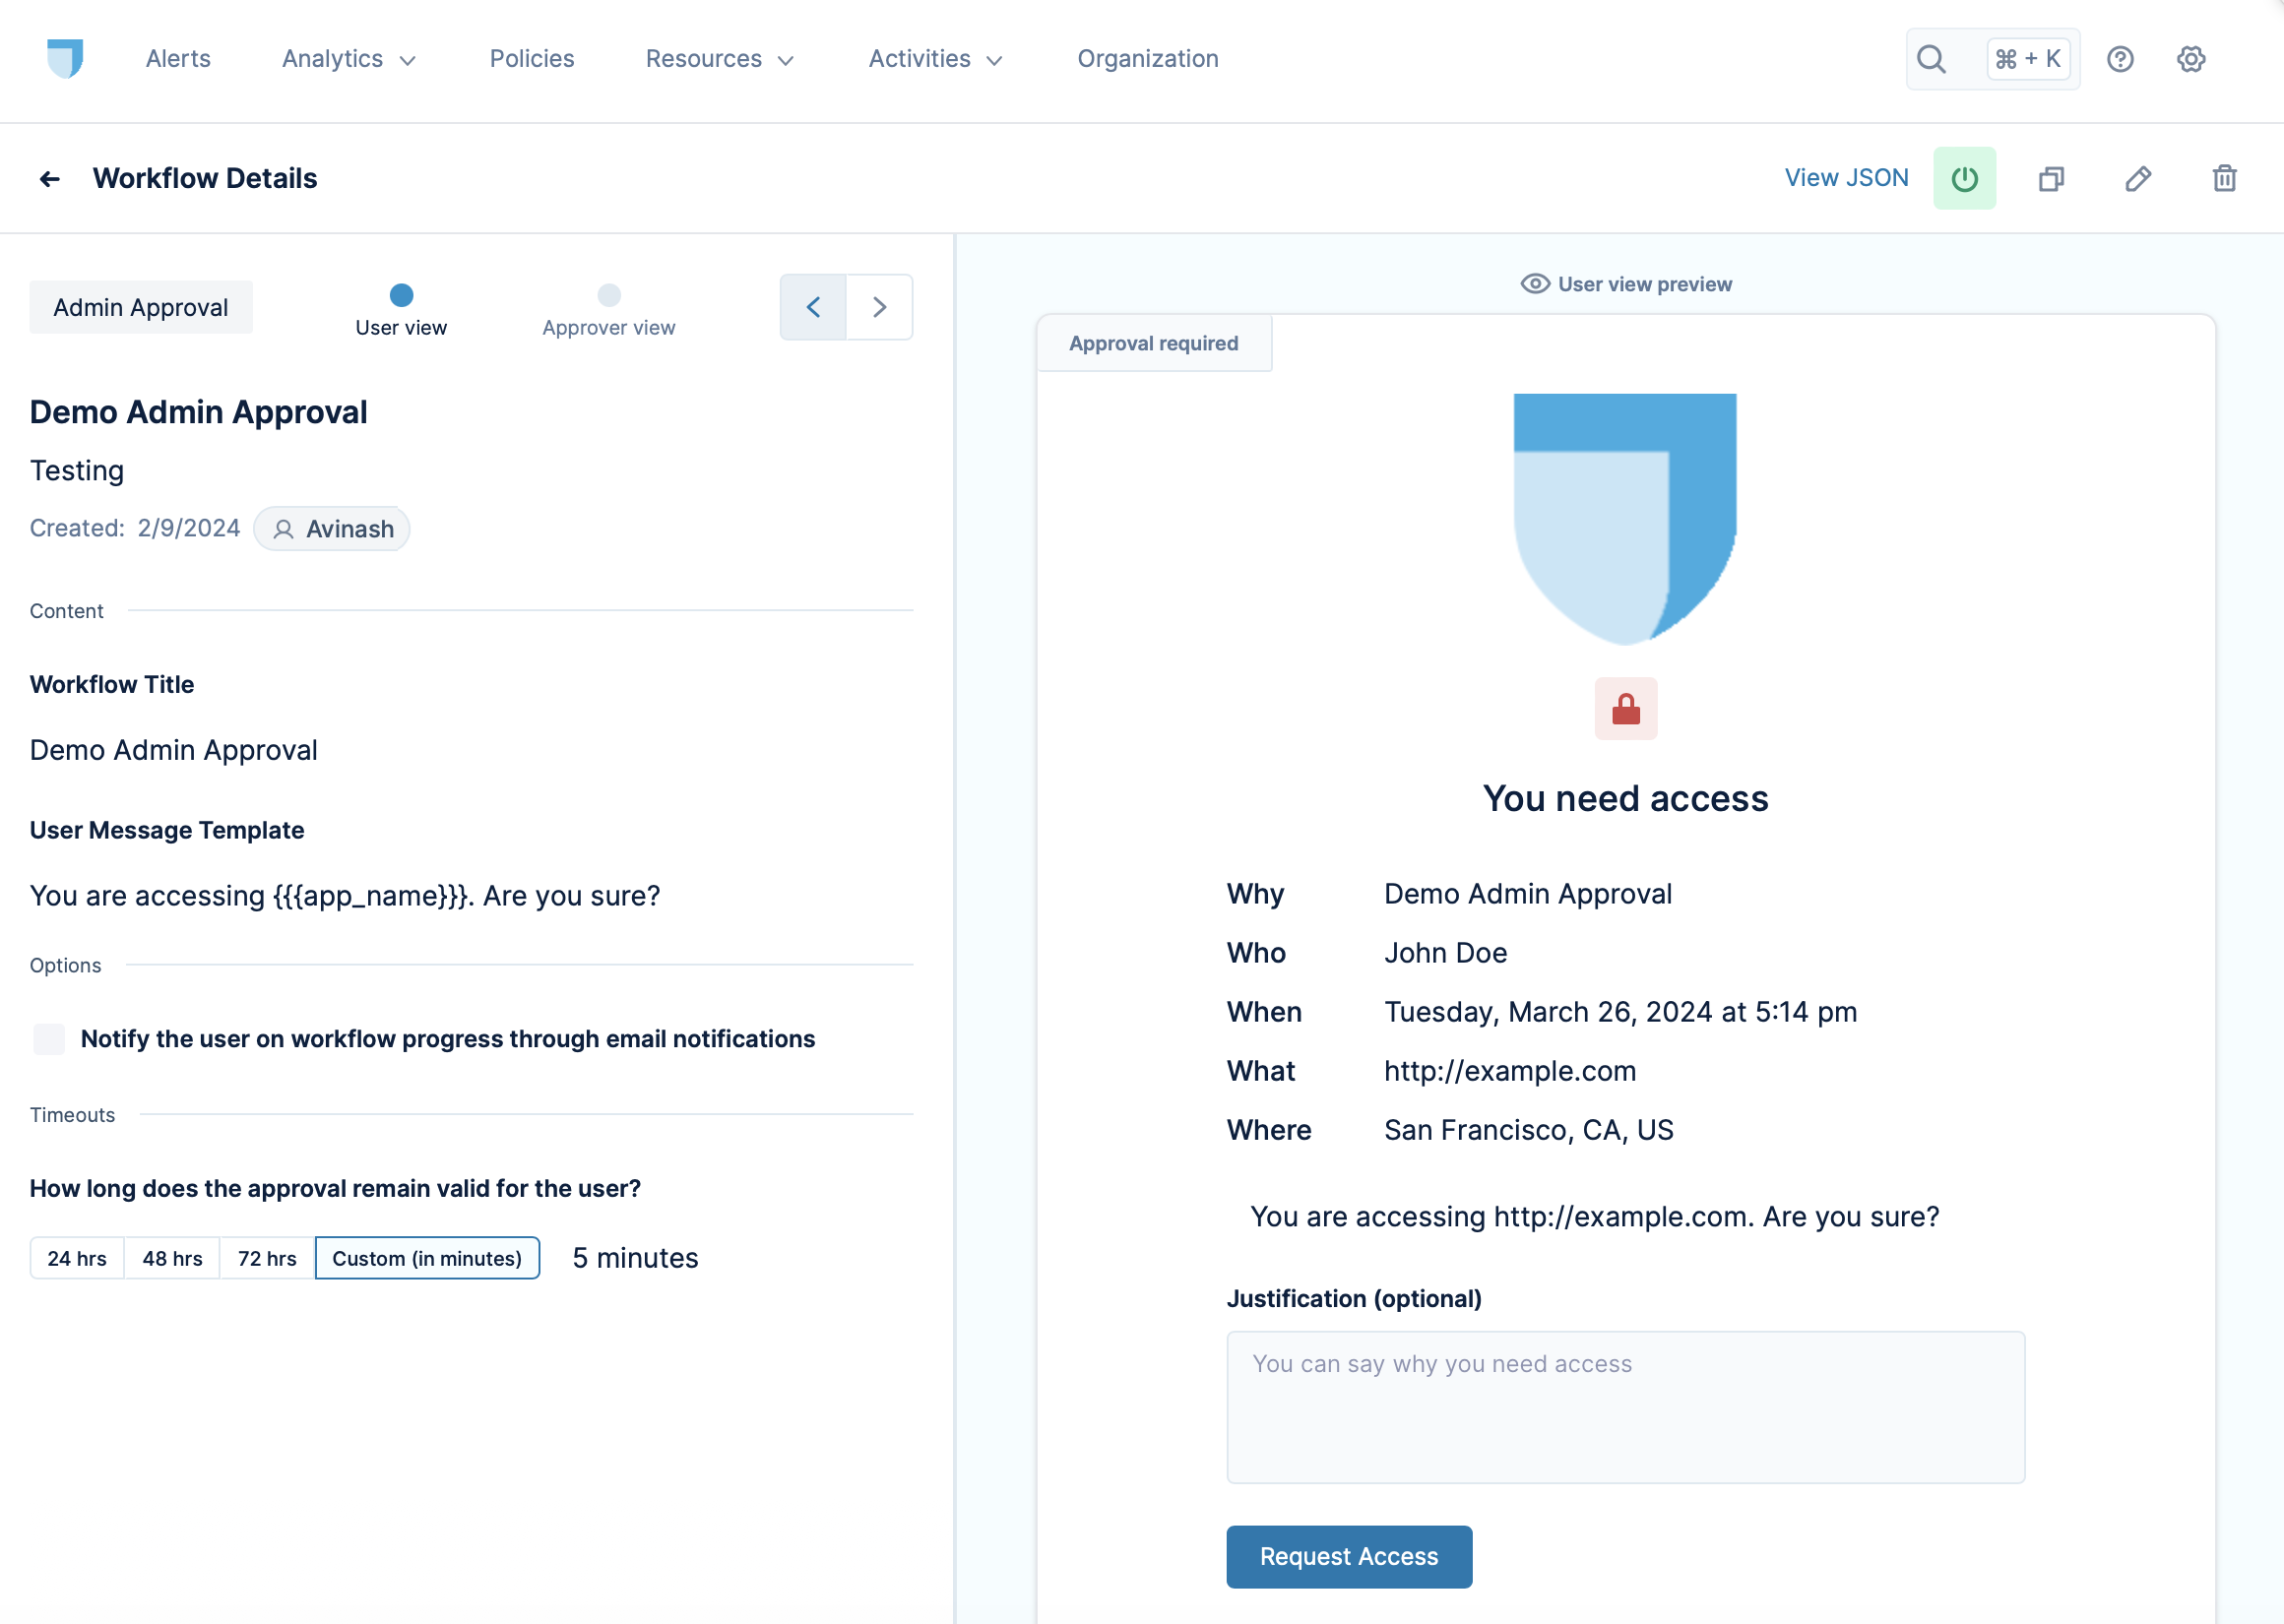
When a user attempts to access an application and encounters a workflow with an administrator approval workflow, the user is informed of the requirement and must wait until a Lacework Edge administrator provides an approval before proceeding. You can customize the page presented in the workflow.
To create an administrator approval workflow, follow these steps:
-
Click + Workflow at the top right of the Workflows page.
-
Choose Admin Approval as the workflow type.
The workflow builder appears. Notice that the page consists of a configuration panel on the left. On the right, a preview panel shows the page as it will appear to the user:
-
Enter a name of this workflow in the Administrative Name field. This is the name that appears in the Workflows list. It also appears as the Why value in the workflow page that appears to the user, unless you choose to use a different value for the workflow title.
-
(Optional) Enter a description of this workflow in the Description field. This description appears in the details view for this workflow in the Lacework Edge console only.
-
(Optional) To present a different title from the Administrative Name to end users, uncheck the same as the administrative name option and enter the value in the Workflow Title field. This value will appear in the workflow page to users as the Why for this workflow.
-
(Optional) In User Message Template, enter a message that appears at the bottom of the user prompt page. You can use placeholders that are substituted by the appropriate values when accessed by the user. For example,
{{{app_name}}}is replaced with the name of the application that the user is attempting to access, enabling you to use this workflow with multiple applications if needed. For more information, see Message Pattern Substitutions. -
Choose whether you want the user to be notified of progress through the workflow. For example, the user can be notified when an administrator approves access.
-
Choose how long the approval remains valid for the user. The workflow will not be presented to the user again for the specified duration.
-
Double-check the end user preview page in the right panel, and click Save when ready.
You can now choose this workflow as a policy action in your security policy configurations, which you can then use in your application configurations.
Create a Self-Approval Workflow
When a user attempts to access an application and encounters a self-approval workflow, they can proceed after acknowledging the risk or reason for which the workflow is presented. You can add a layer of security to the process by imposing two-factor authentication on users before they can proceed or by notifying administrators when a user completes this workflow.
To create a self-approval workflow, follow these steps:
- Click + Workflow at the top right of the Workflows page.
- Choose Self Approval as the workflow type. This workflow allows the user to proceed without administrator approval, serving, in most cases, as a note of caution to the user.
- Enter a name of this workflow in the Administrative Name field. This is the name that appears in the Workflows list. It also appears as the Why value in the workflow page that appears to the user, unless you choose to use a different value for the workflow title.
- (Optional) Enter a description of this workflow in the Description field. This description appears in the details view for this workflow in the Lacework Edge console only.
- (Optional) To present a different title from the Administrative Name to end users, uncheck the same as the administrative name option and enter the value in the Workflow Title field. This value will appear in the workflow page to users as the Why for this workflow.
- (Optional) In User Message Template, enter a message that appears at the bottom of the user prompt page. You can use placeholders that are substituted by the corresponding values when accessed by the user. For example,
{{{app_name}}}is replaced with the name of the application that the user is attempting to access, enabling you to use this workflow with multiple applications if needed. For more information, see Message Pattern Substitutions. - (Optional) Customize the workflow response buttons. You can customize the button text and modify the action resulting from clicking the buttons, from these options:
- Succeed, allowing the user to proceed
- Run another workflow
- Extend a session that has already succeeded by the configured approval time
- Choose from these additional options:
- Notify the approvers when this workflow is triggered: Sends a notification to administrators when a user enters the workflow.
- Require justification for the chosen workflow response: Requires the user to provide a justification (via a text entry field) before continuing.
- Require 2FA for the approver to submit a workflow response: Requires a user to verify their identity either through a configured MFA mechanism or by a token sent to their email.
- Choose how long the approval remains valid for the user. The workflow will not be presented to the user again for the specified duration.
- Choose how long the user has to respond to the approval prompt. After the configured period, the user will need to initiate the workflow again, by retrying the connection they attempted.
You can now choose this workflow as a policy action in your security policy configurations, which you can then use in your application configurations.
Message Pattern Substitutions
In the field where you enter the message for the user, you can use patterns, or data tags, that are substituted with appropriate values at the time that the user views the workflow. The following data tags are available:
{{{app_name}}}- The name of the Lacework Edge application that the user is trying to reach when triggering the workflow{{{os}}}- OS (if available) of the user's current device{{{ttl}}}- How long this approval will be valid (in seconds){{{user_name}}}- User's name{{{user_uuid}}}- User's UUID (useful for debugging purposes)